The boot light on the TF wasn’t working and a quick look showed that the wires had split where the boot wiring loom went into the main wiring loom – usual and common fault on F and TF’s. The problem occurs because the boot loom doesnt bend easily, therefore when you open the boot and close it the bending is done by the actual wires as they enter the main loom.
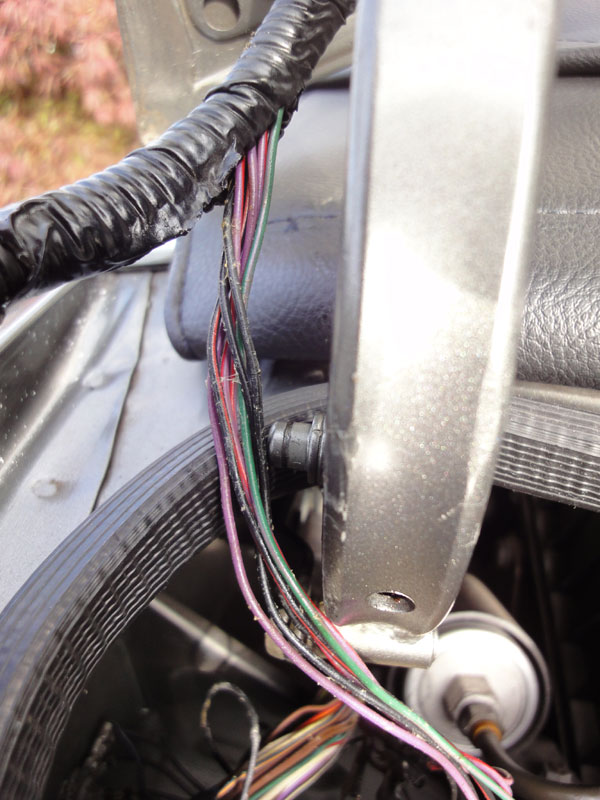
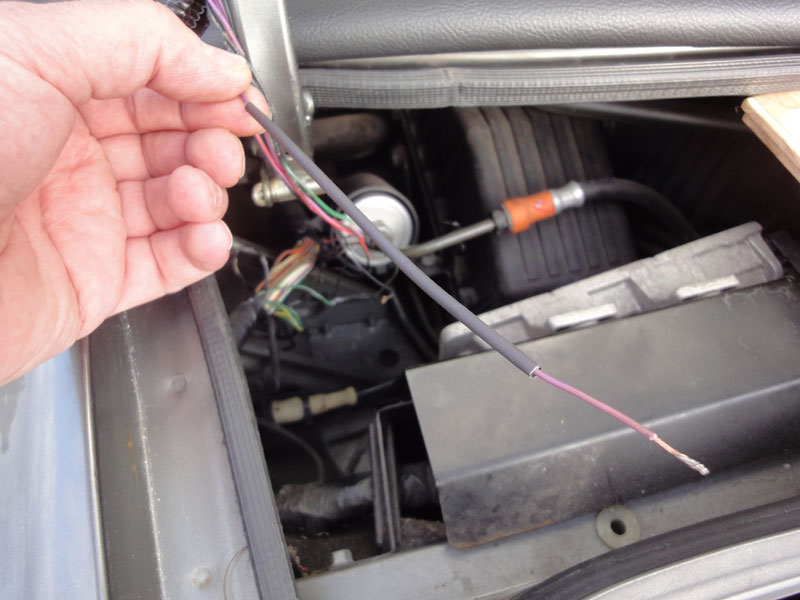
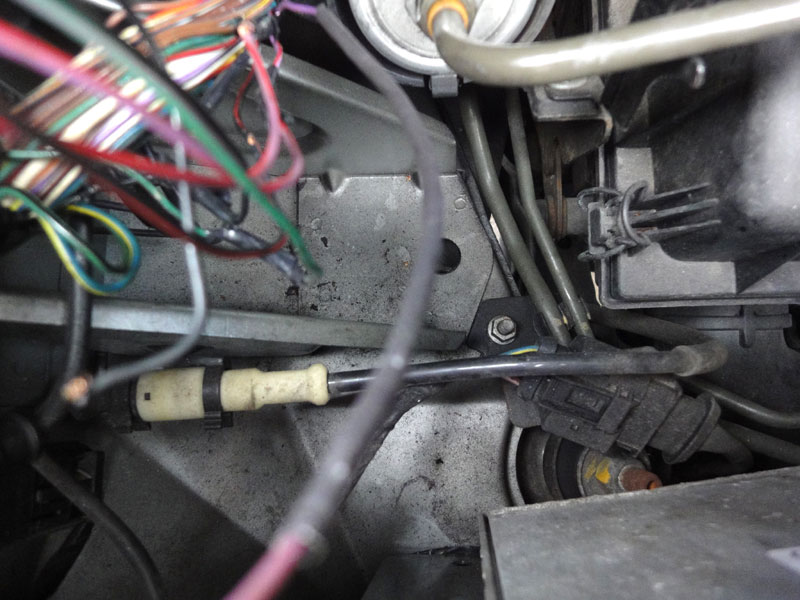
To fix it properly you need to add extra wire to the loom which will flex. I used 2mm wire, 2.4mm shrink sleeving and Self-Amalgamating Tape. You also need wire strippers, soldering iron and solder, and sharp knife. This is what the wiring looked like at the start:
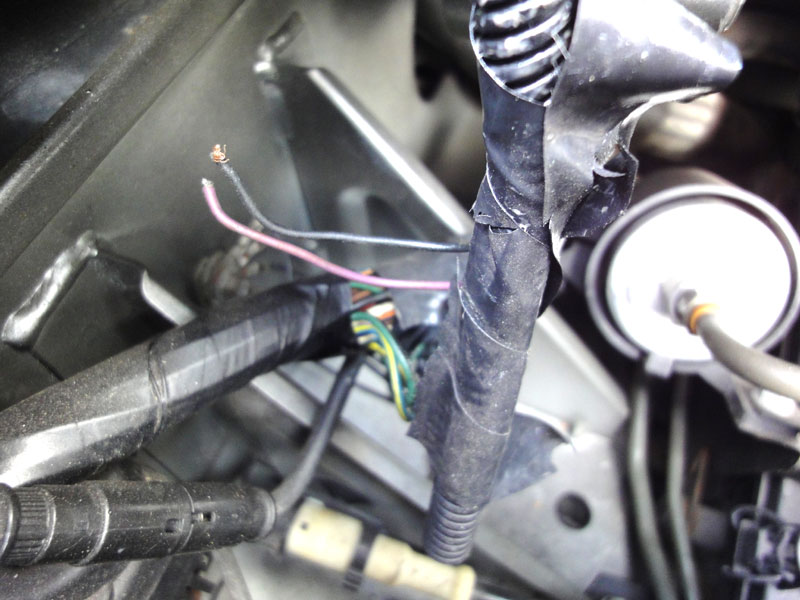
You can see 2 broken wires – both are for the boot light. Also there were signs that a previous repair had been attempted using electrical insulating tape. Problem with that is the heat from the engine melts the glue and it falls off!
Disconnect the battery – I didnt but it is safer if you do!
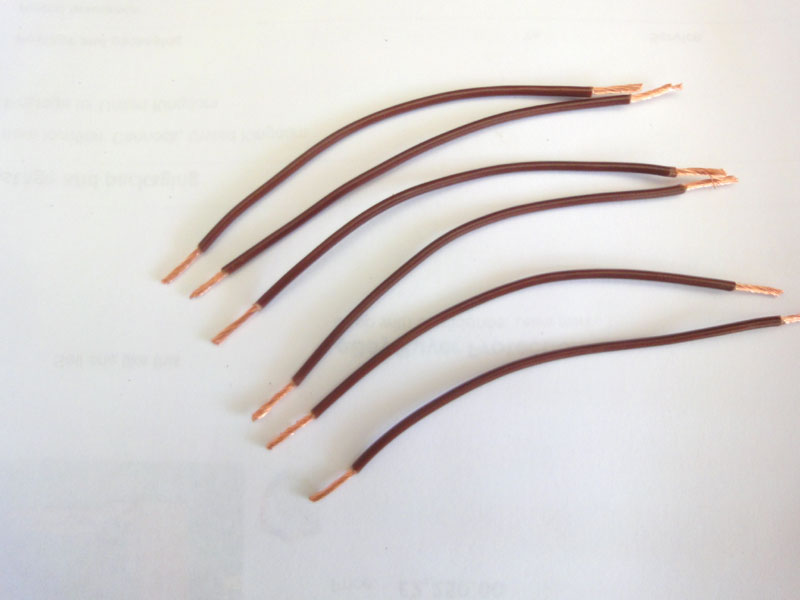
Next prepare the wire extensions – I used 2mm wire. The boot wire looks like 1mm but using 2mm adds to the strength of the flexing. Cut 6 (MGF) or 7 (MGTF) lengths of about 4″. Bare the ends:
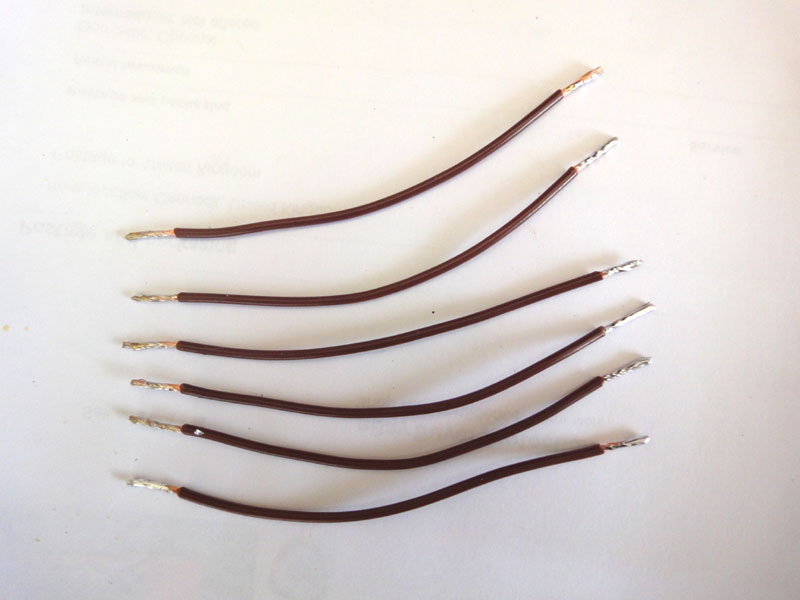
and then add solder:
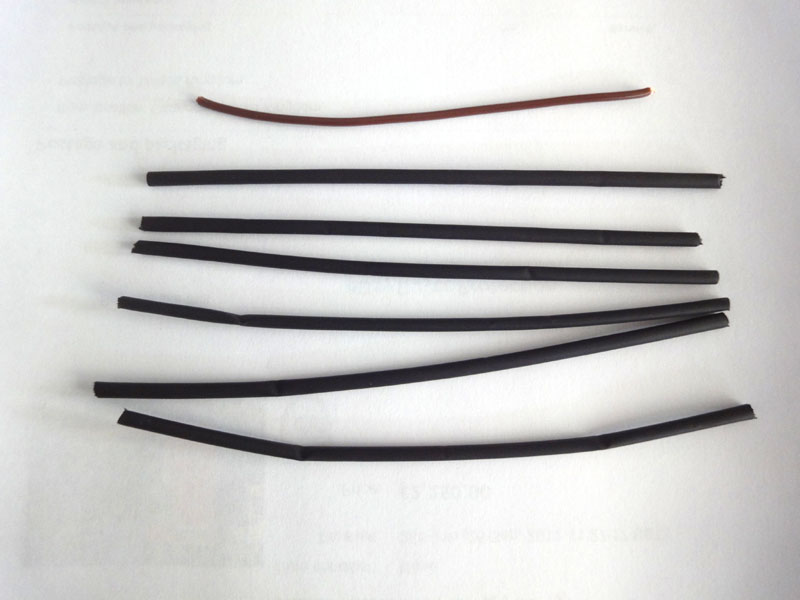
Now cut same number of heat shrink tubing but make them 5-6″ long:
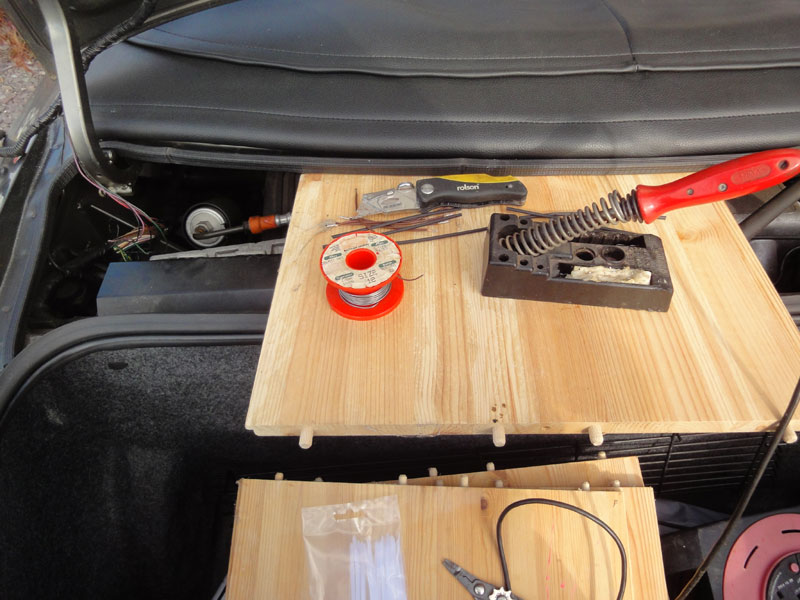
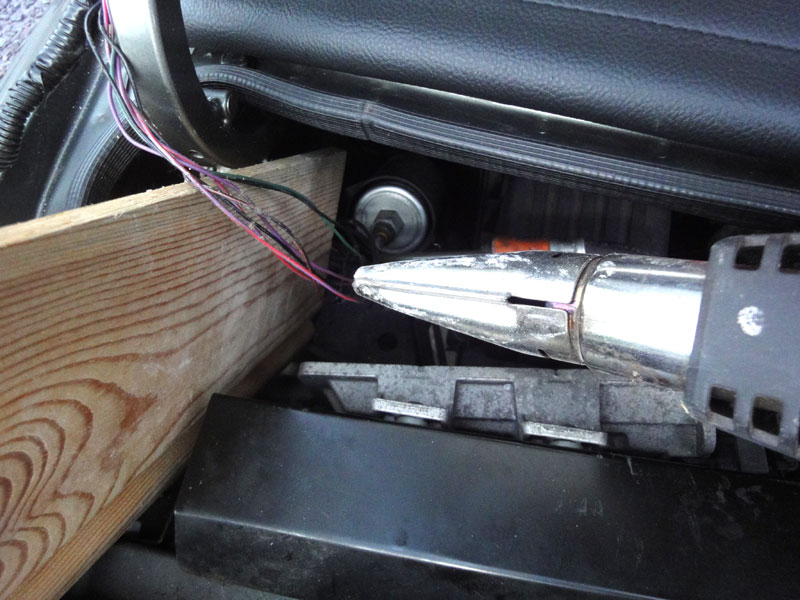
Now we move to the car! I used some pieces of wood to make a bench to work on. BE CAREFUL! The hot soldering iron or solder will damage paint, carpet, etc!
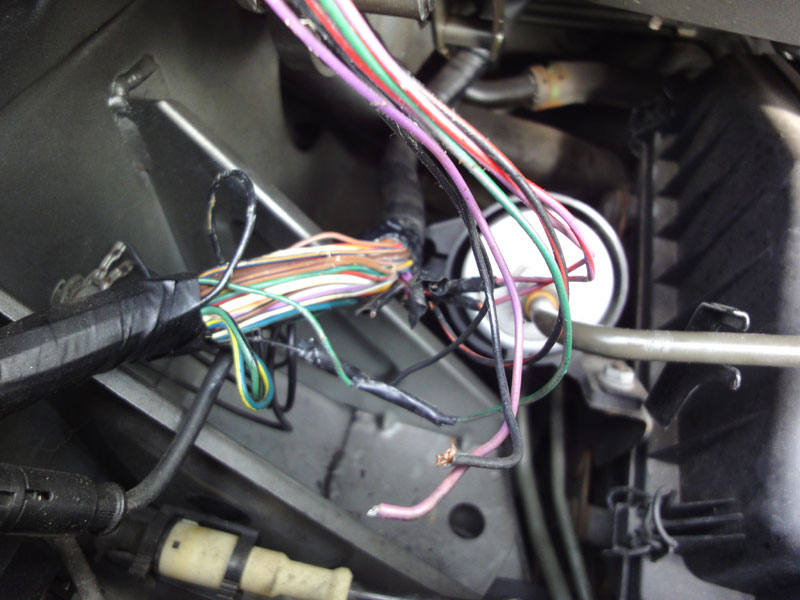
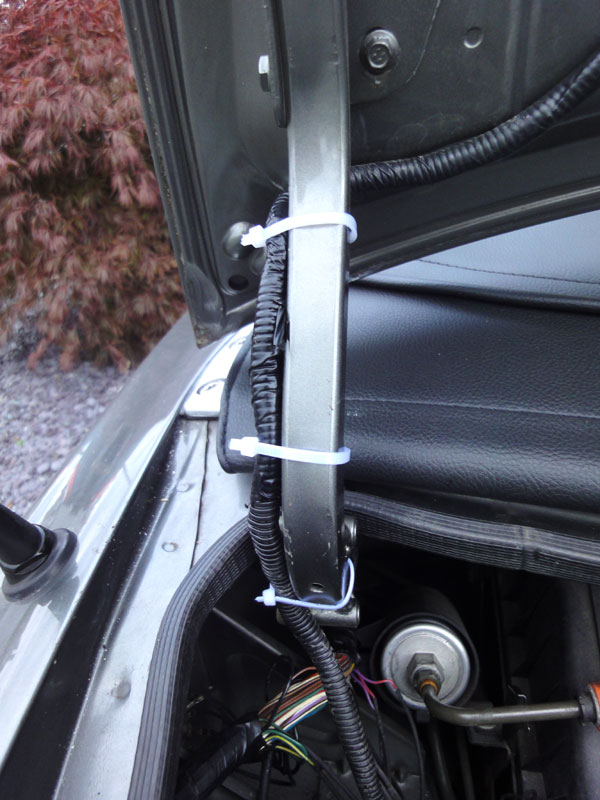
Now cut the nylon ties attaching the harness to the boot hinge, and peel back the outer plastic cover. This is split along its length so it should be easy to do. Mine had plastic tape around it which could have come from previous repair so I used a knife to split it:
Also expose the wires in the main loom, use the knife carefully and cut along the length to reduce chances of damaging wires. You can see on mine the previous repairs:
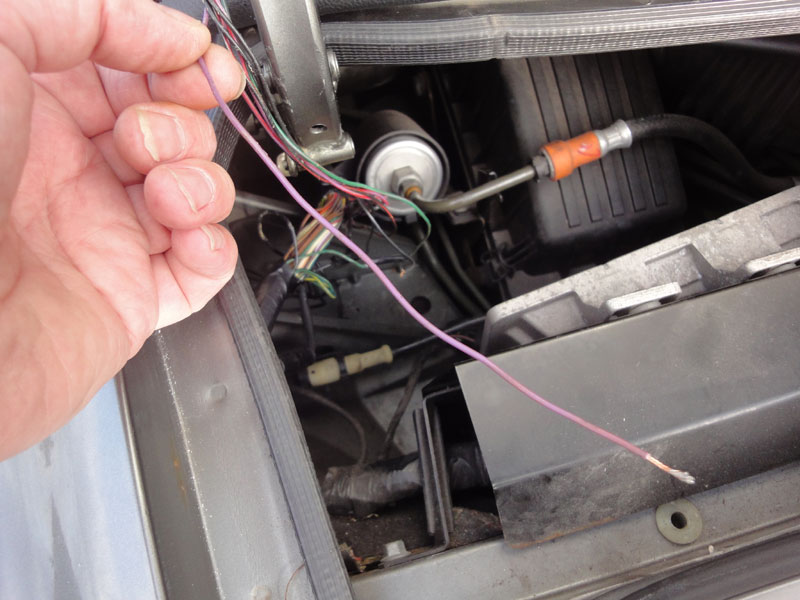
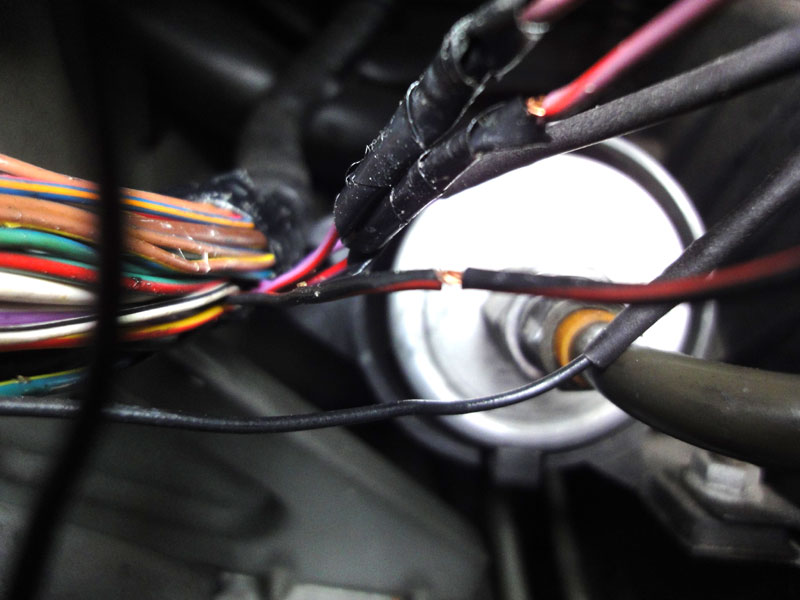
If you check along each wire you could find that every one has a kink or exposed part just waiting to break. It is at these points the extension wires are fitted. To reduce errors do each wire one at a time; and check that the colours match after adding the extension piece. Cut the wire at the kinked/exposed part, if the wire is solid cut it at the length from the main loom that other wires are split; or as in my case the wires were already broken. This is the purple wire from the boot:
Before soldering the end slide the heat shrink sleeve over the wire and push it well pass the end. Add solder to the bare wires. It was at the point I noticed the solder wasnt taking too well, possibly due to the glue from the insulating tape so I used switch cleaner to clean the bare wires before soldering which improved things.
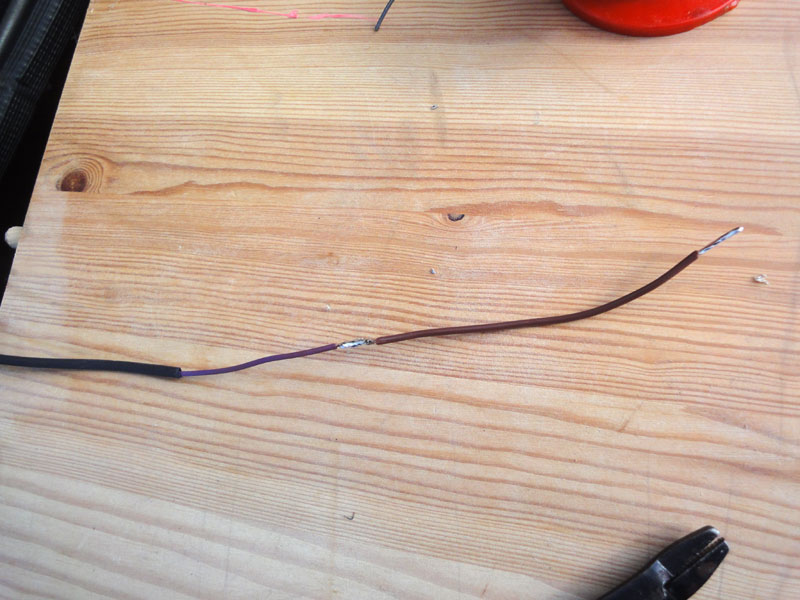
Now add the extension wire by soldering the new 4″ wire to the original wire. Because we have pre soldered the wires this should be easy. I used a piece of wood to lay the wires on to prevent any accidents:
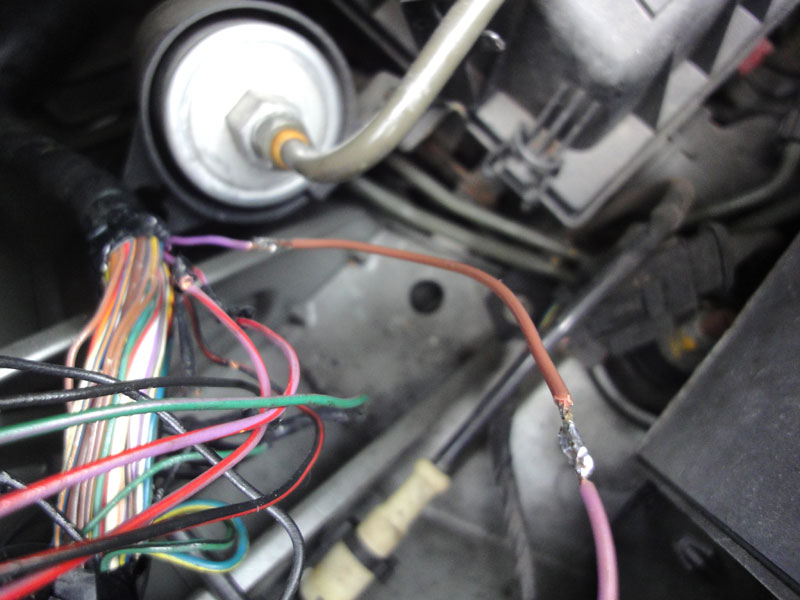
Now do the same at the other end. This is more difficult because you are in the confined space of the engine bay. Move other wires out of the way and be careful not melt anything with the soldering iron! Here’s the extension wire added:
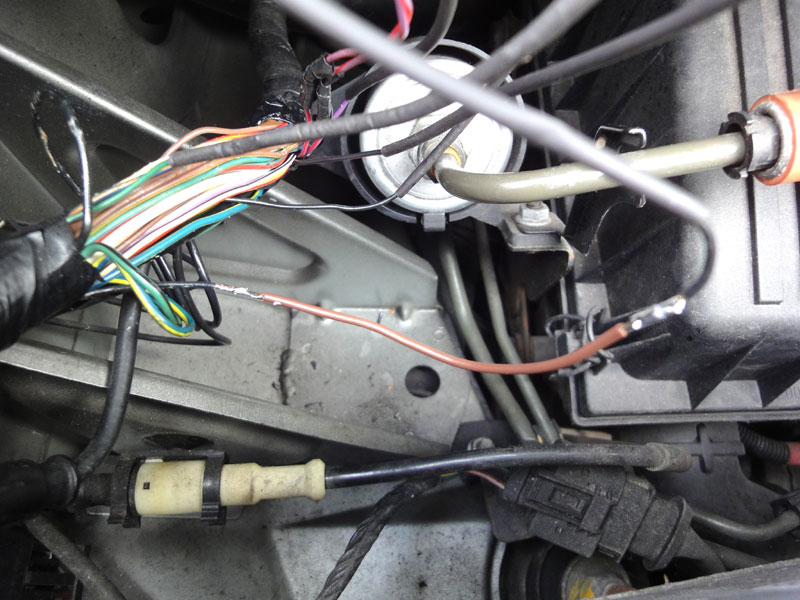
And here it is with the sleeving pulled over the soldered joints;
Now repeat this for all the other wires. Remember to find the weak point of the wire and cut at this point. Here is an example of a wire on its way to breaking:
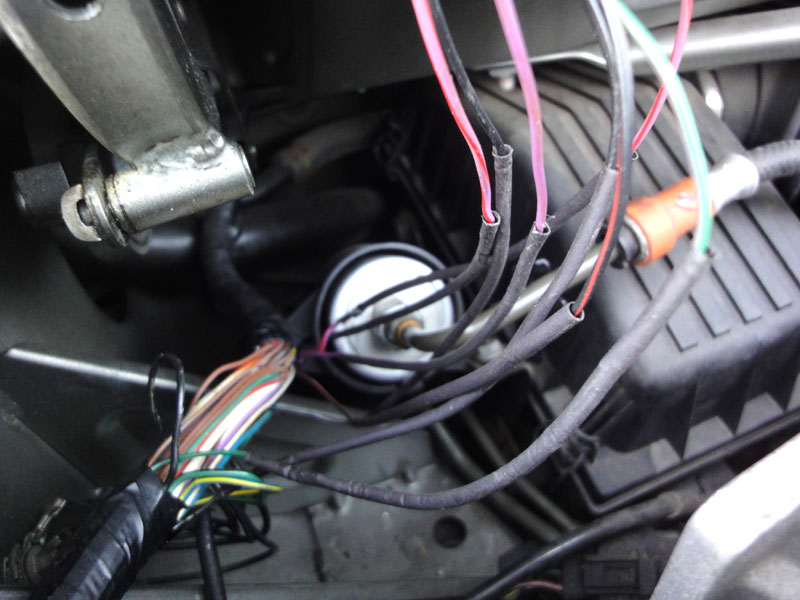
Do them one at a time. Wait until the solder has cooled before sliding the heat shrink sleeve over or it will shrink and you wont be able to move it! When all are done it should look like this:
Now check that it all works – reconnect the battery and test boot light; brake light; alarm. If all is well we can shrink the sleeving onto the wires. This will make it waterproof. You need a hot air gun – I used a paint stripper heat gun. BEWARE – it does what it says on the tin – strips paint! I used wood to protect the surrounding areas. You only need short bursts of heat and you will see the sleeving shrink.
Now replace the wires into the boot outer sleeving and tie wrap to the hinge. There should be 3 plastic lugs on the hinge where the tie wraps pass through – on mine these were missing so I tied them direct to the hinge. I will order some new mounting points to finish the job (and also black tie wraps instead of fluorescent white!)
Finally use the self-amalgamating tape on the main loom to secure the wires at the other end. This tape is elastic so wrap it tight over the loom from one end to the other, make sure that only the new wires come out of the loom as it is these that will do the flexing. This tape will ‘melt’ into itself over time to form a waterproof seal:
Job Done! You can cut the boot outer sleeve back which will expose more wire and easier flexing.
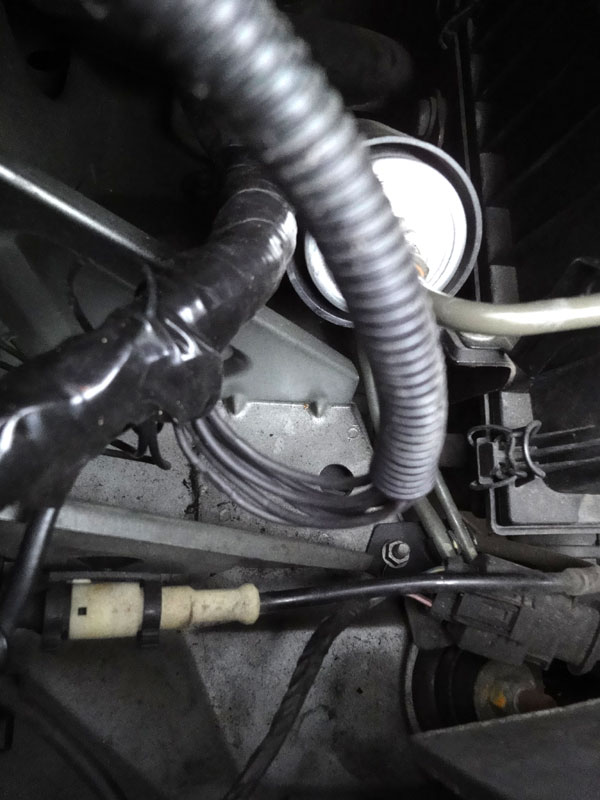
Warning: The fuel filter is below the main loom so be careful when using the soldering iron and heat gun! This is how I did it – if you try it it is at your own risk! Dont do it if you are not confident enough!
If you want me to do the job please call me on 07790542191 – I am an auto electrician and can help you with any electrical or rewiring problems.